Getting Started
This guide walks you through setting up Zenfra and running your first infrastructure workflow.
Prerequisites
Before you begin, make sure you have:
- A Zenfra account with an organization
- Access to a Git provider account (GitHub)
- Access to at least one cloud account (AWS)
- A repository containing Terraform or OpenTofu code
Step 1: Connect your source control
Zenfra needs access to your Git repositories to pull infrastructure code for each run.
- Navigate to Integrations in the sidebar.
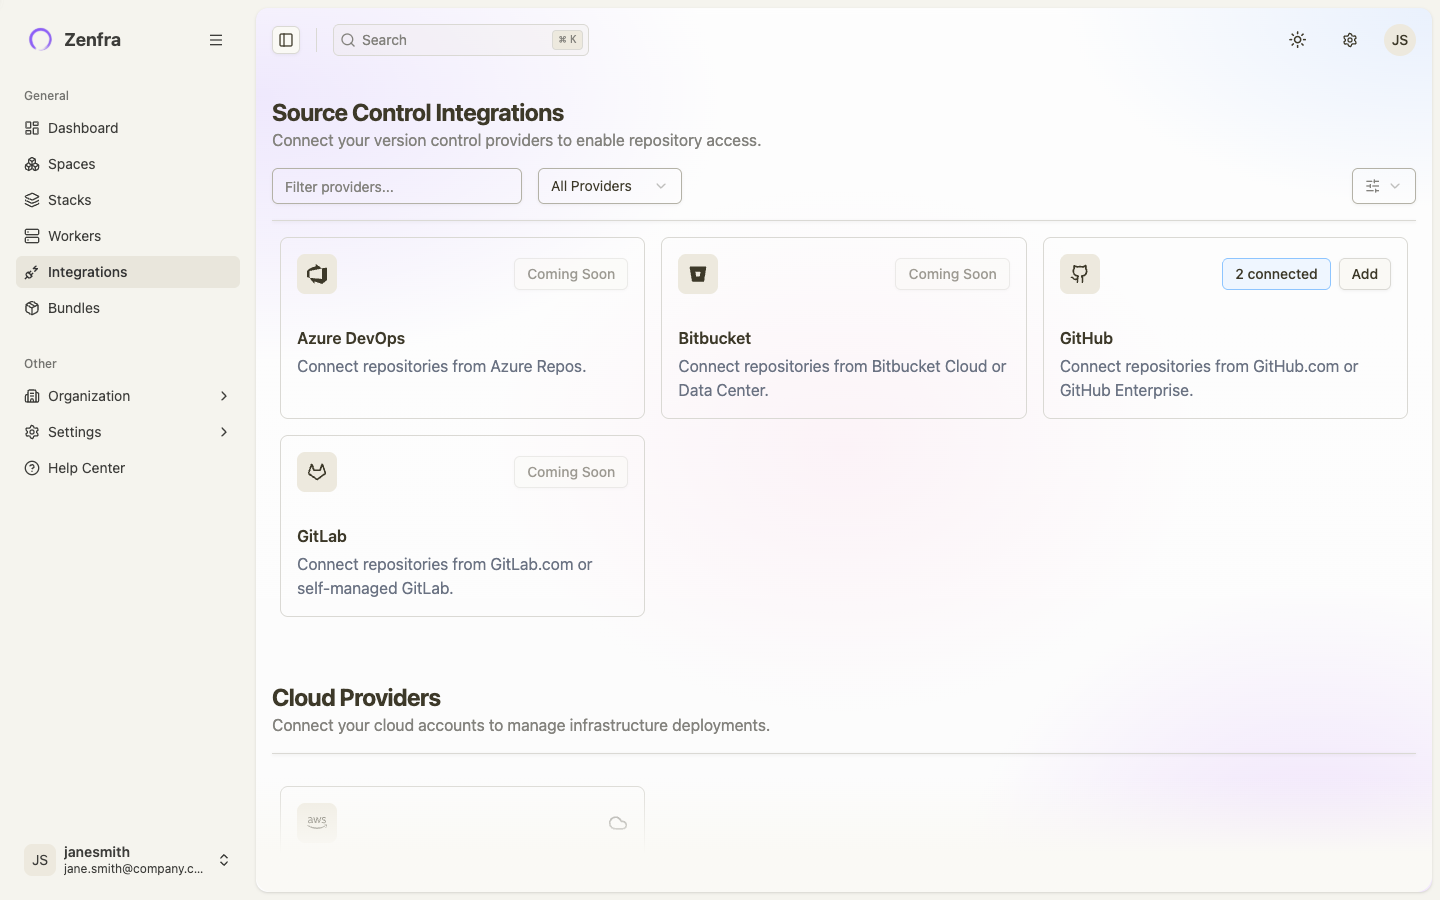
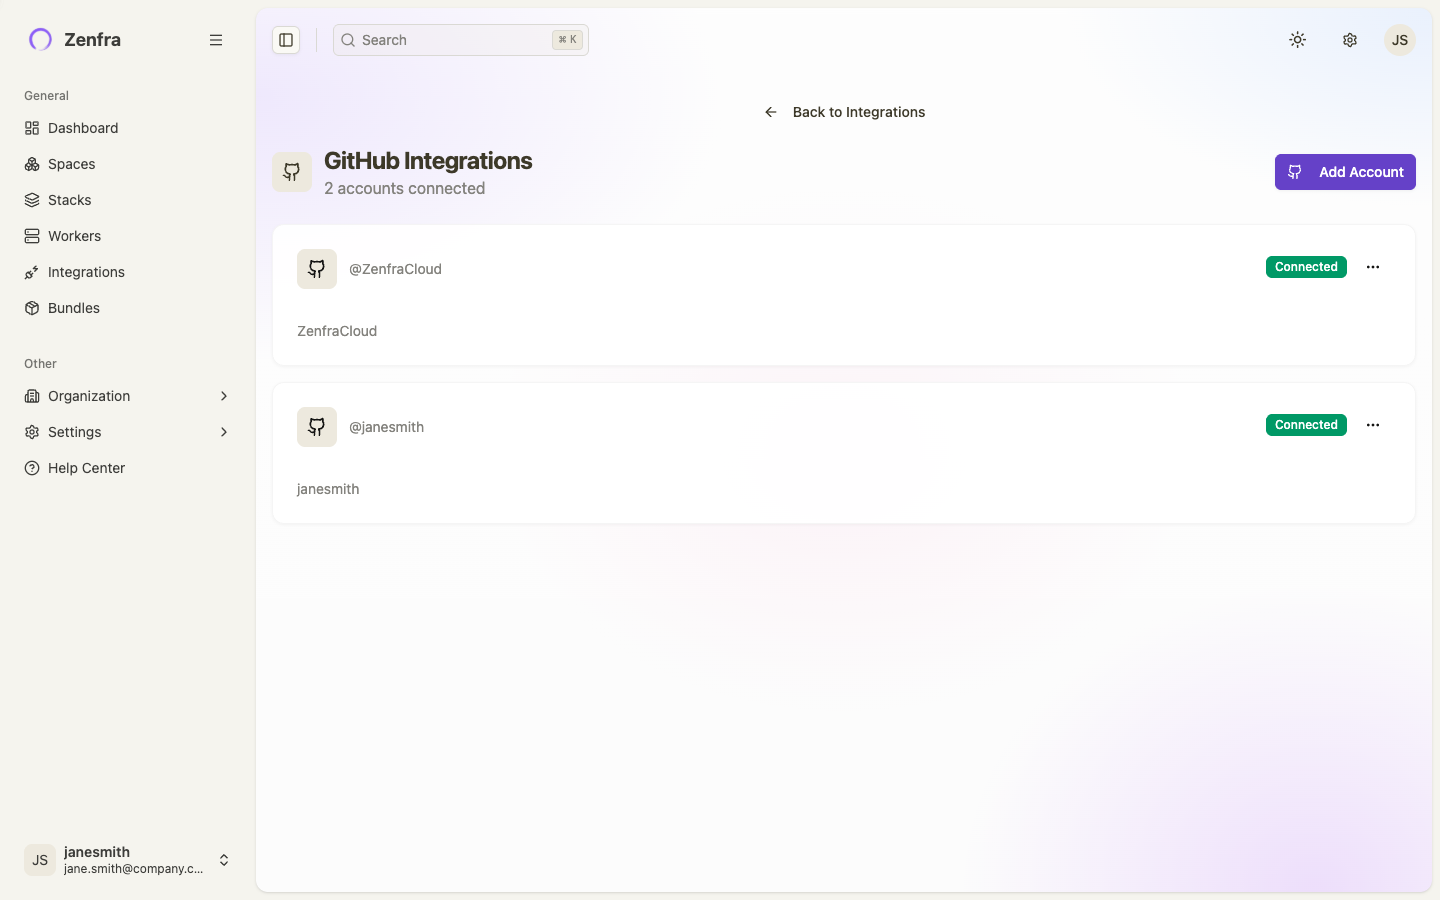
- Under Source Control Integrations, find GitHub and click to connect.
- Authorize the Zenfra GitHub App to access your repositories.
- Once connected, the integration will show as Connected.
Currently GitHub is the supported source control provider. GitLab, Bitbucket, and Azure DevOps integrations are coming soon.
Step 2: Connect your cloud account
Zenfra uses IAM role assumption to securely access your AWS account — no long-lived credentials are stored.
- Navigate to Integrations in the sidebar.
- Under Cloud Providers, click Amazon Web Services.
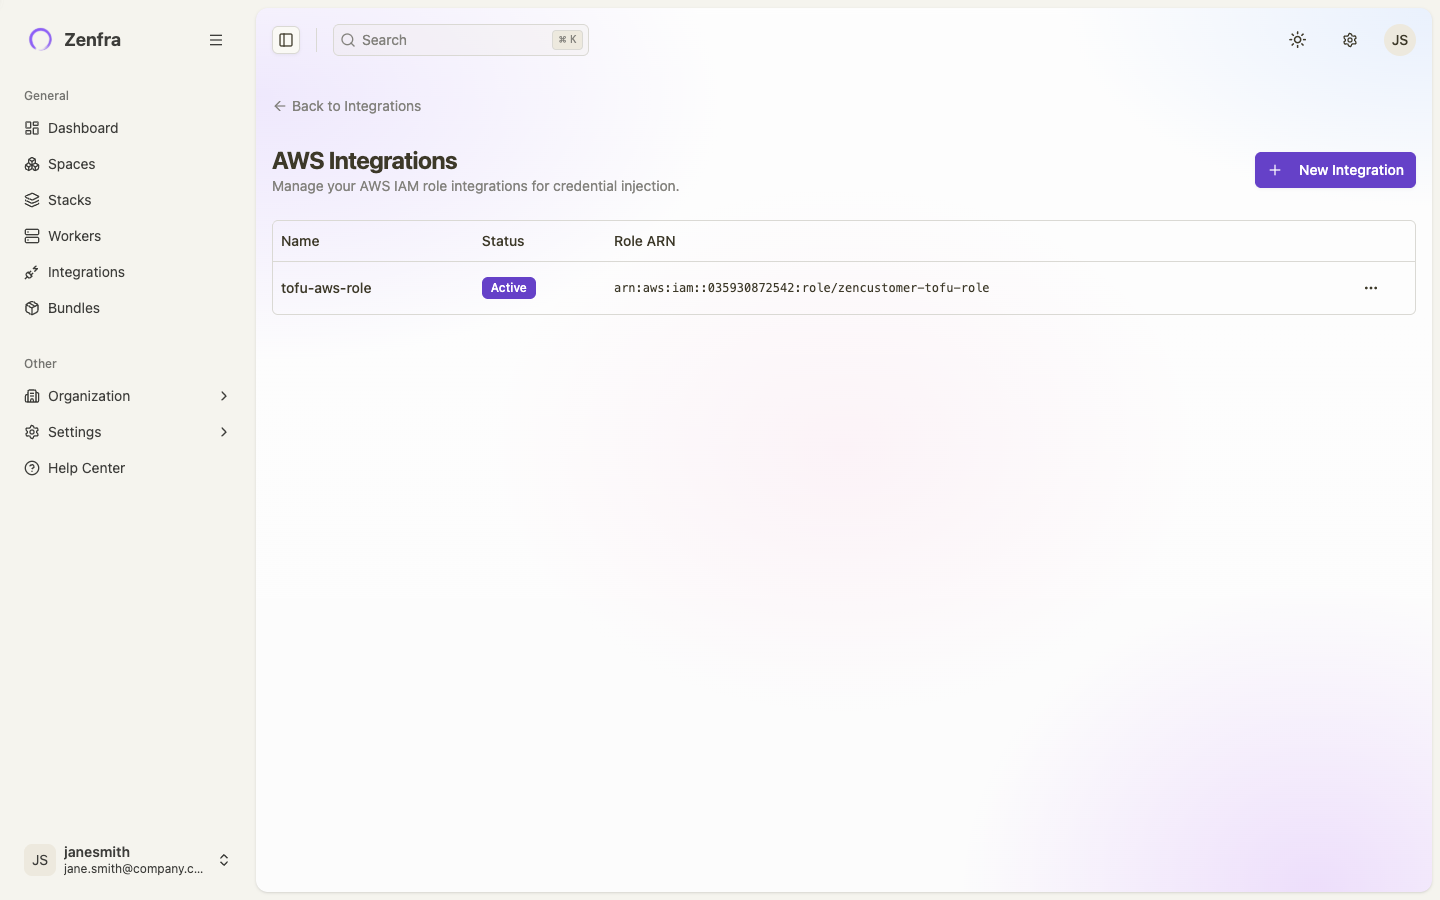
- Click New Integration and provide:
- Name — a descriptive name for this integration (e.g.,
production-aws) - Role ARN — the ARN of the IAM role Zenfra will assume
- Region — the default AWS region
- Name — a descriptive name for this integration (e.g.,
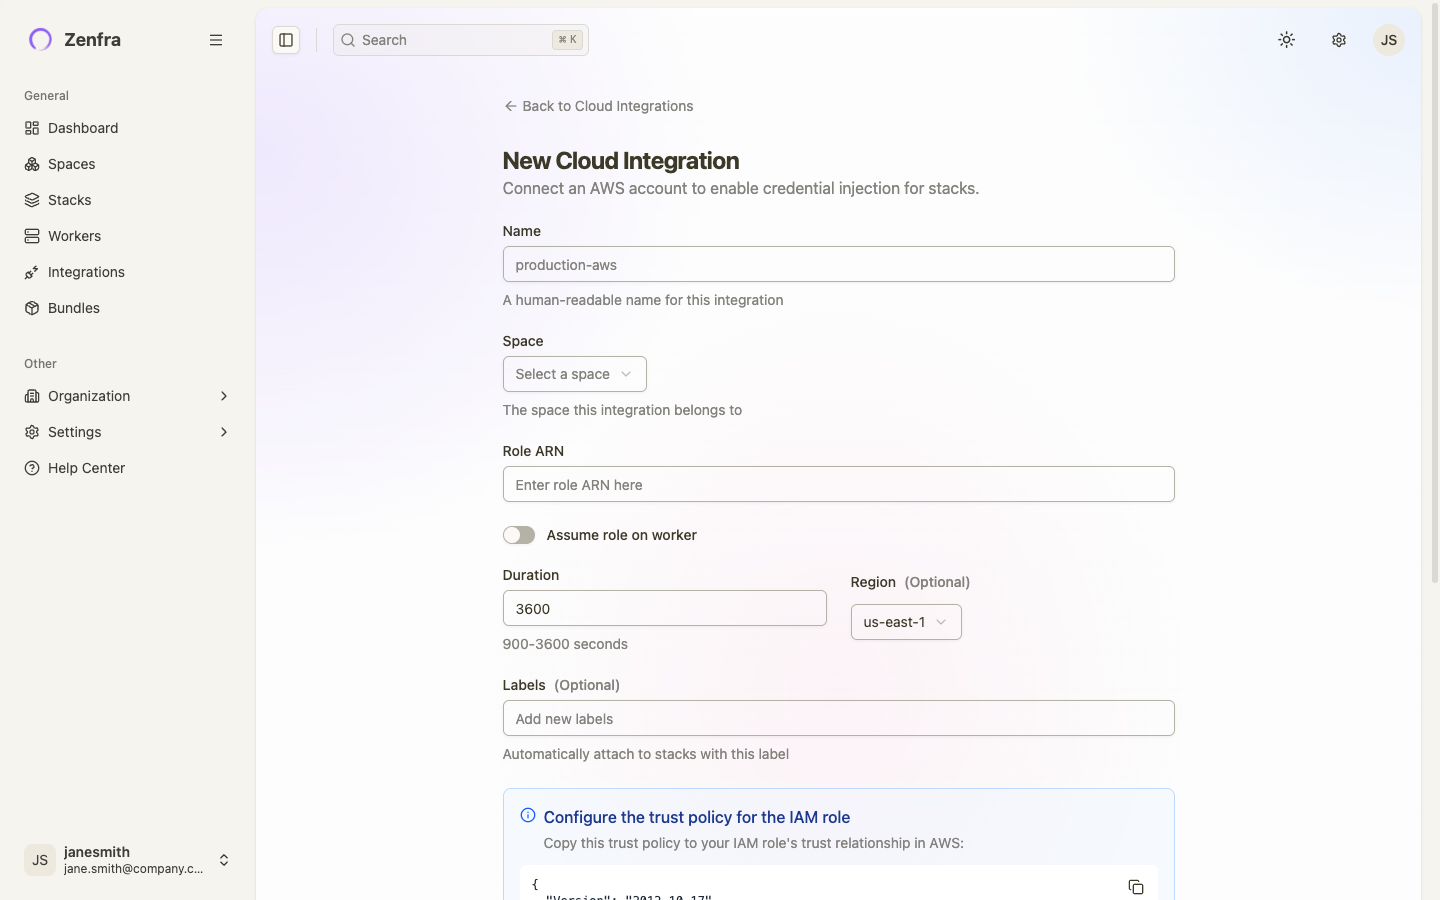
- Copy the generated trust policy JSON and apply it to your IAM role in AWS.
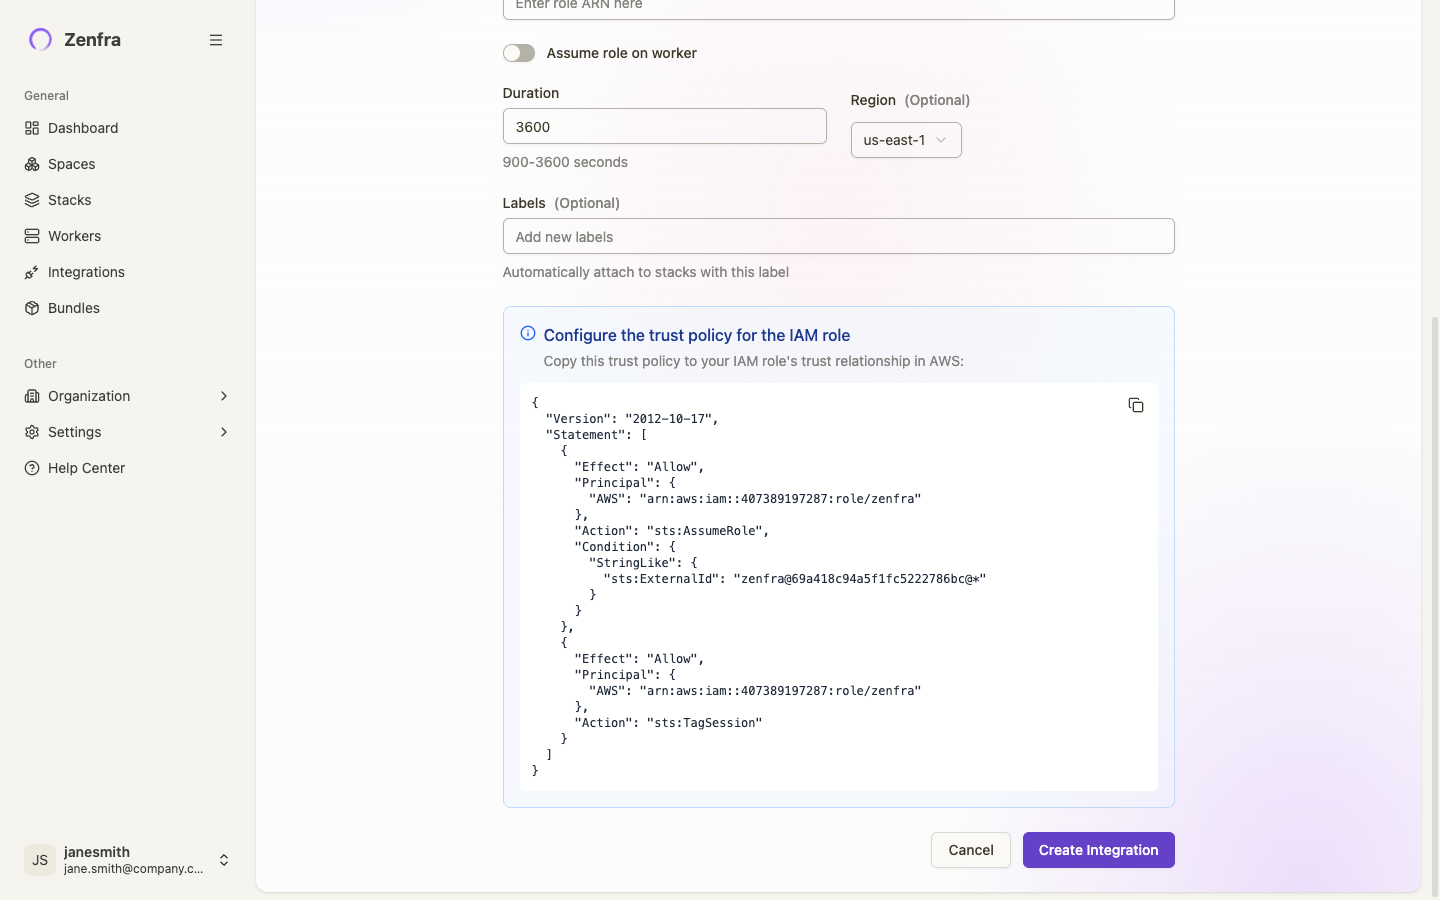
- Click Verify to confirm Zenfra can assume the role.
For detailed setup instructions, see AWS Integration.
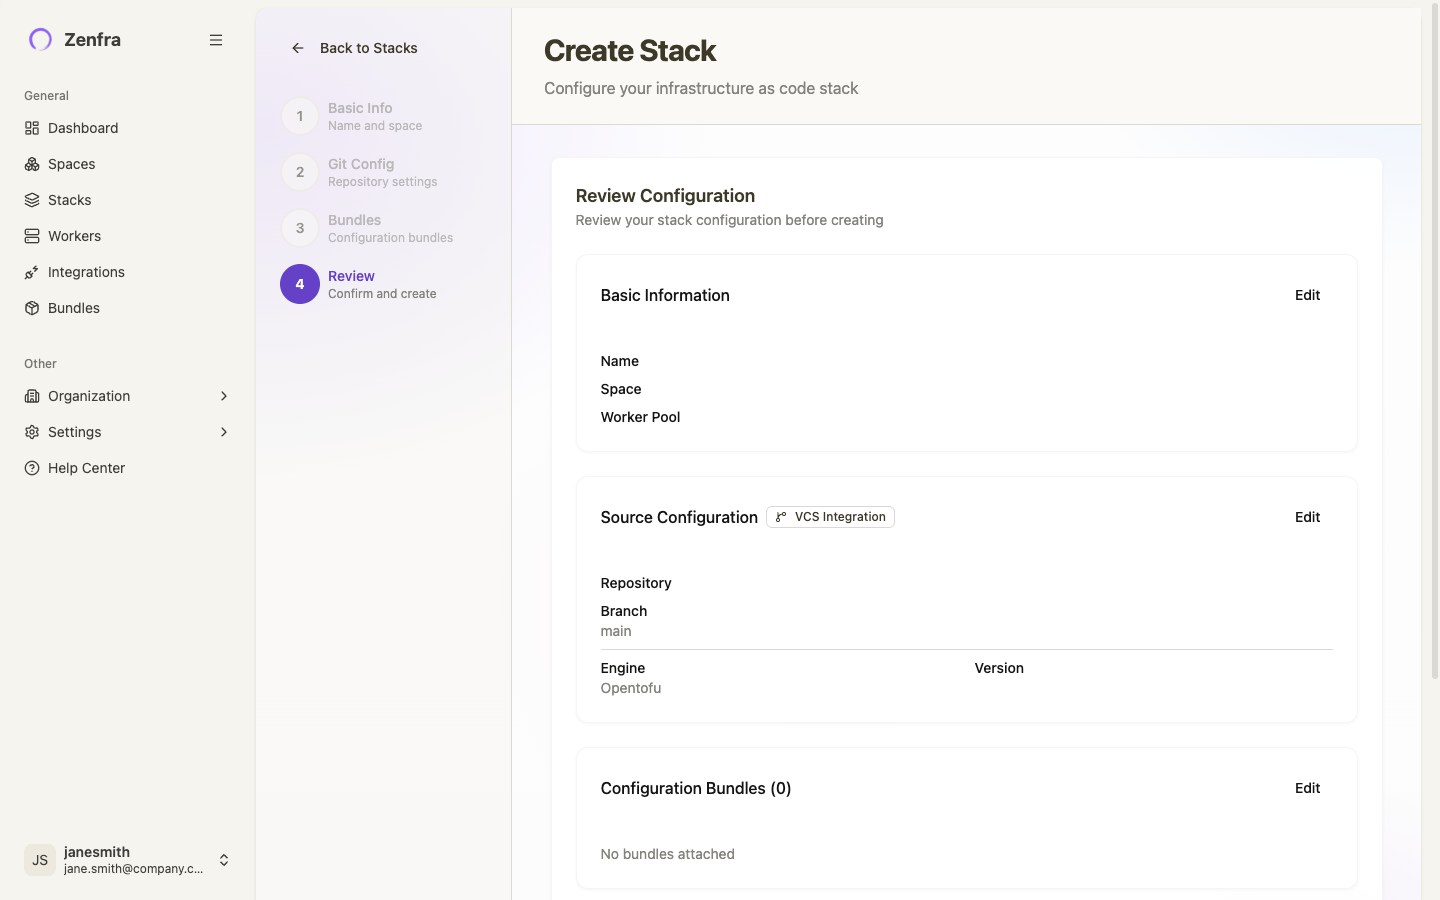
Step 3: Create your first stack
A stack connects your Git repository to a managed infrastructure lifecycle.
- Navigate to Stacks in the sidebar and click Create Stack.
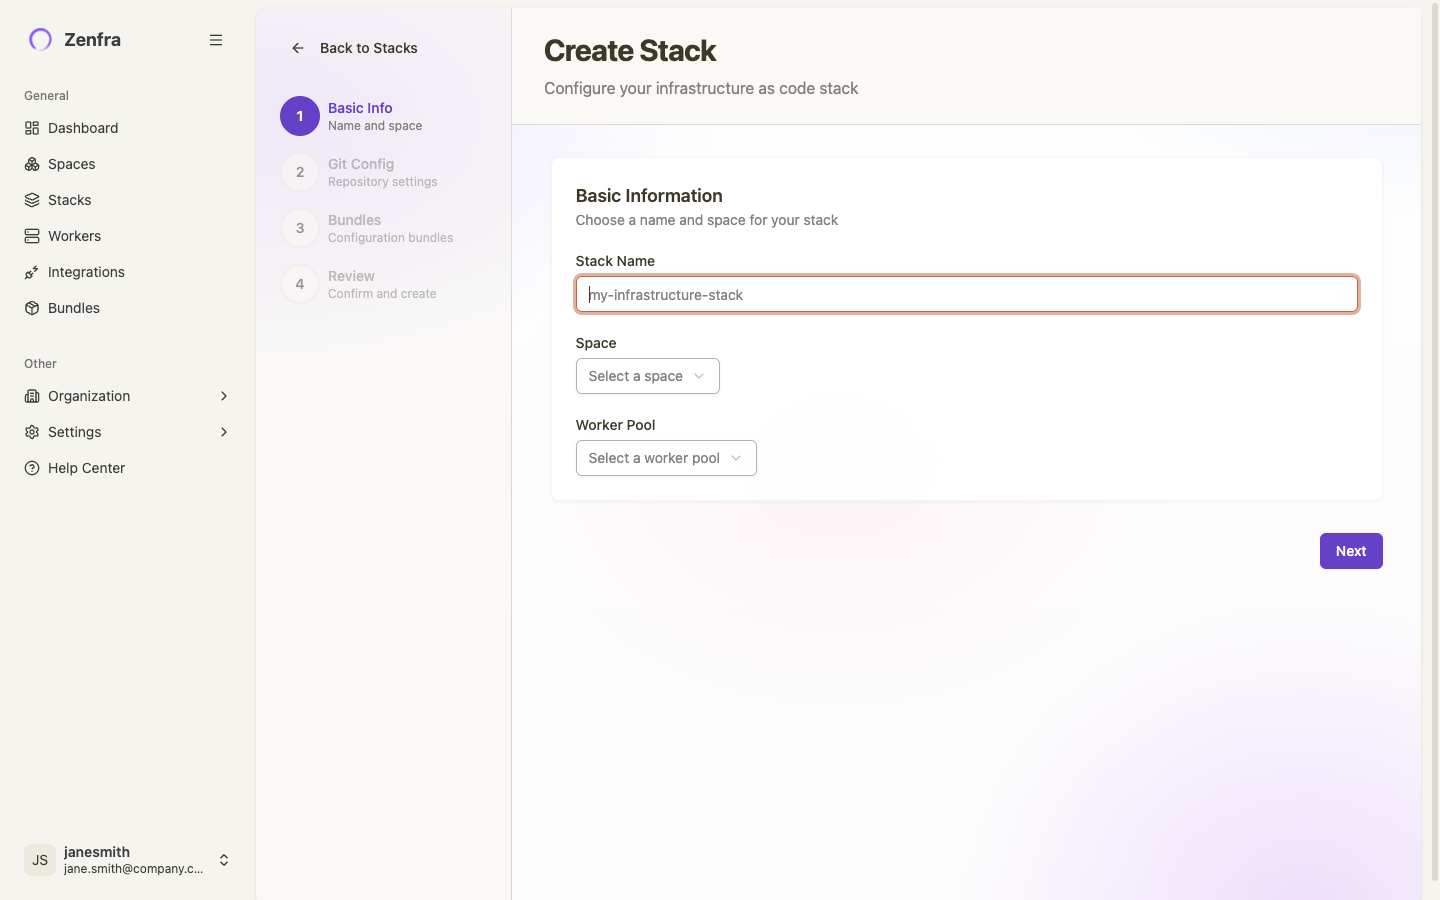
- Complete the 4-step wizard:
Basic Info — enter a stack name, select a space, and choose a worker pool.
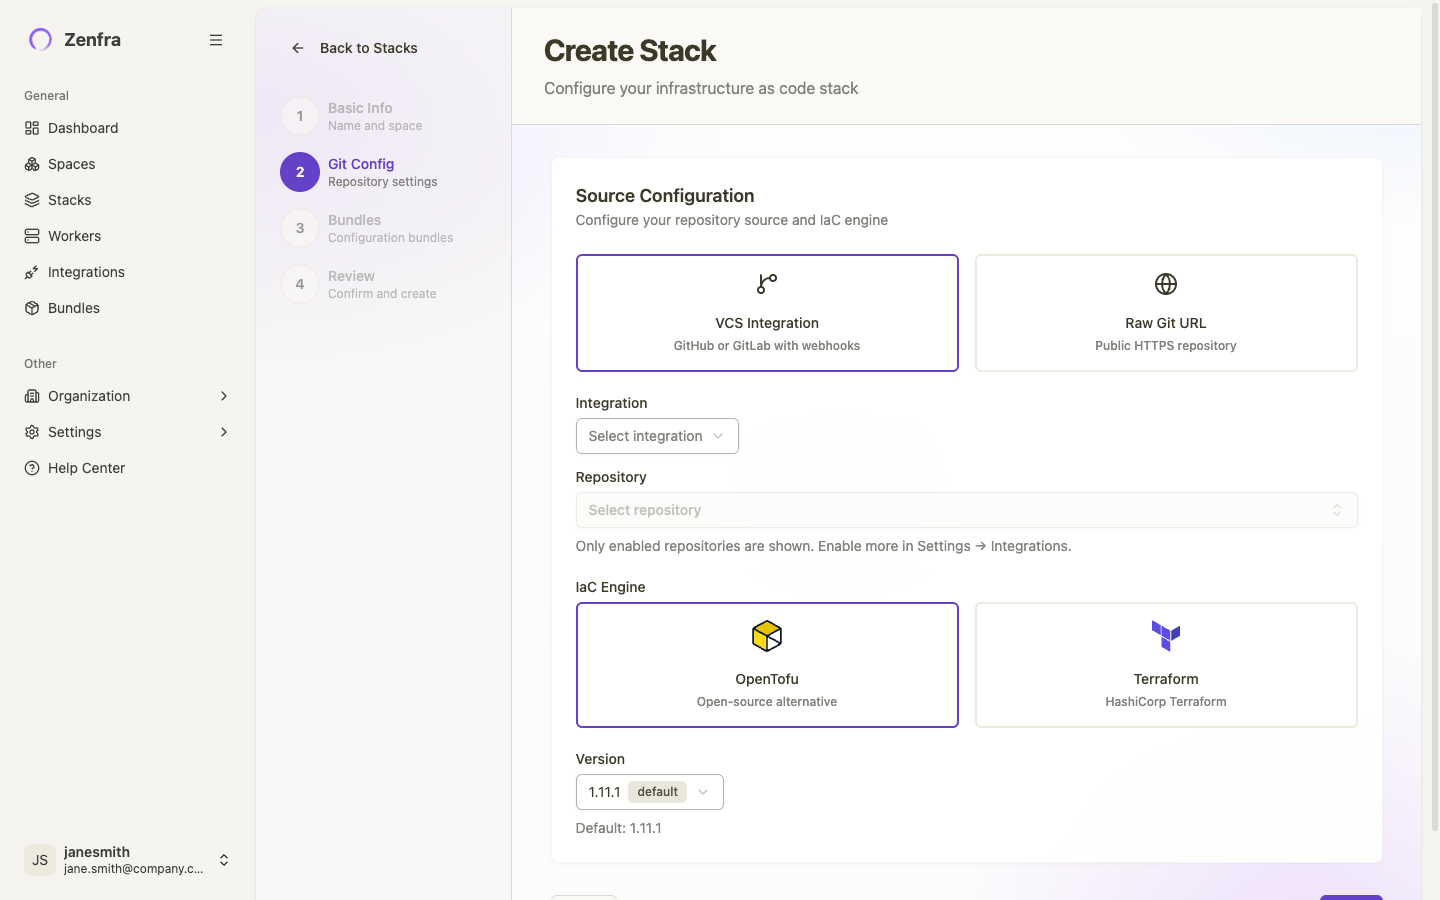
Git Config — select your VCS integration, repository, branch, and project root path. Choose your IaC engine (OpenTofu or Terraform).
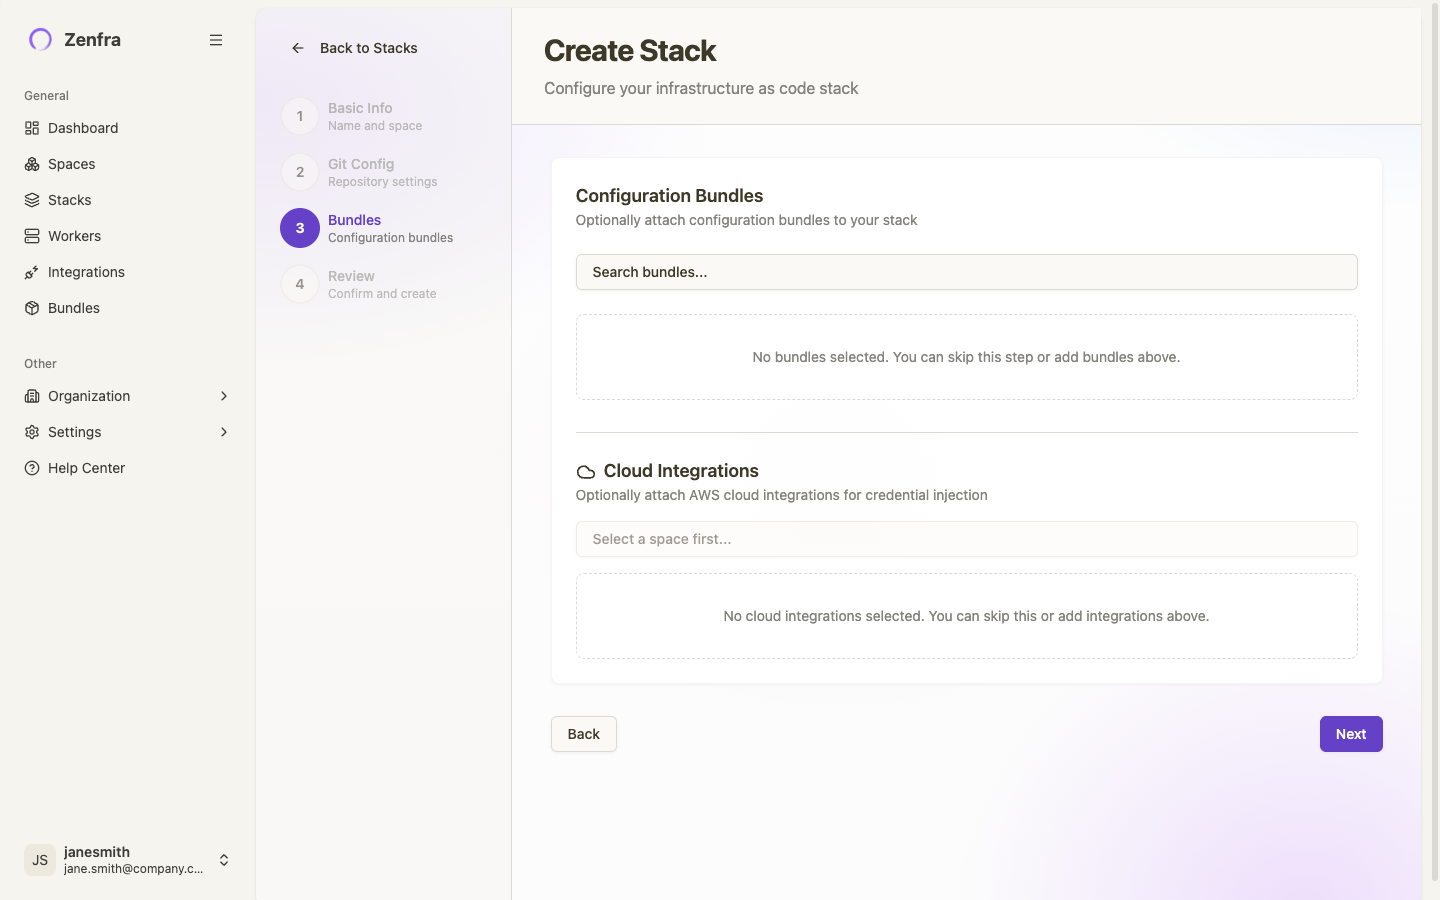
Bundles & Cloud — optionally attach configuration bundles and cloud integrations.
Review — confirm the configuration and create the stack.
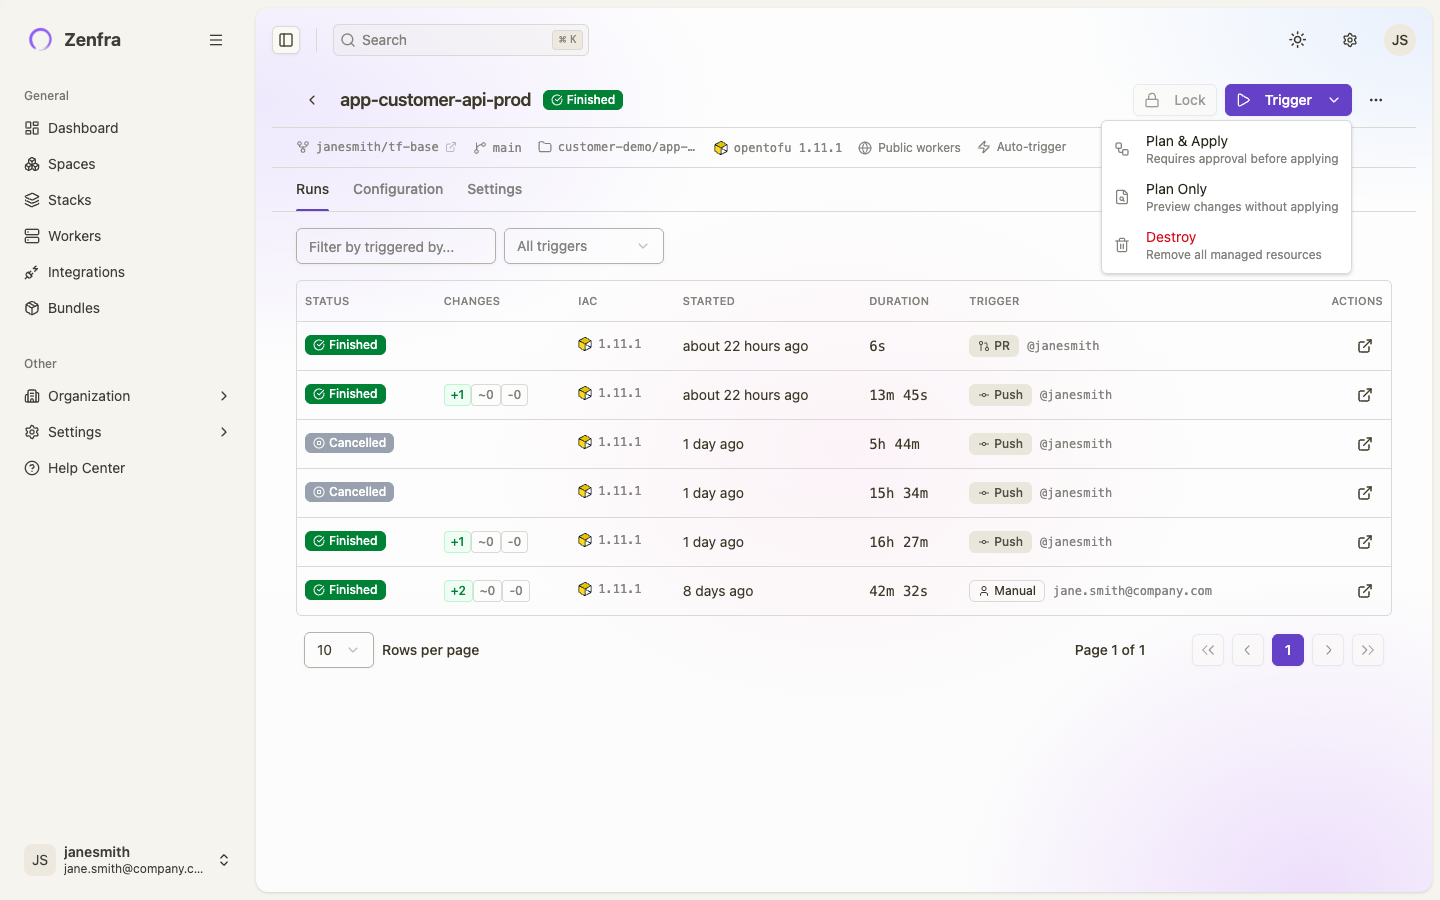
Step 4: Trigger your first run
Once your stack is created, trigger a run to plan and apply your infrastructure.
- Open your stack and click the Trigger dropdown.
- Select Plan & Apply to create a tracked run that requires approval before applying.
- Watch the run progress through its phases:
- Queued — waiting for a worker
- Preparing — downloading source code and configuring the workspace
- Initializing — running
terraform initortofu init - Planning — generating a plan of changes
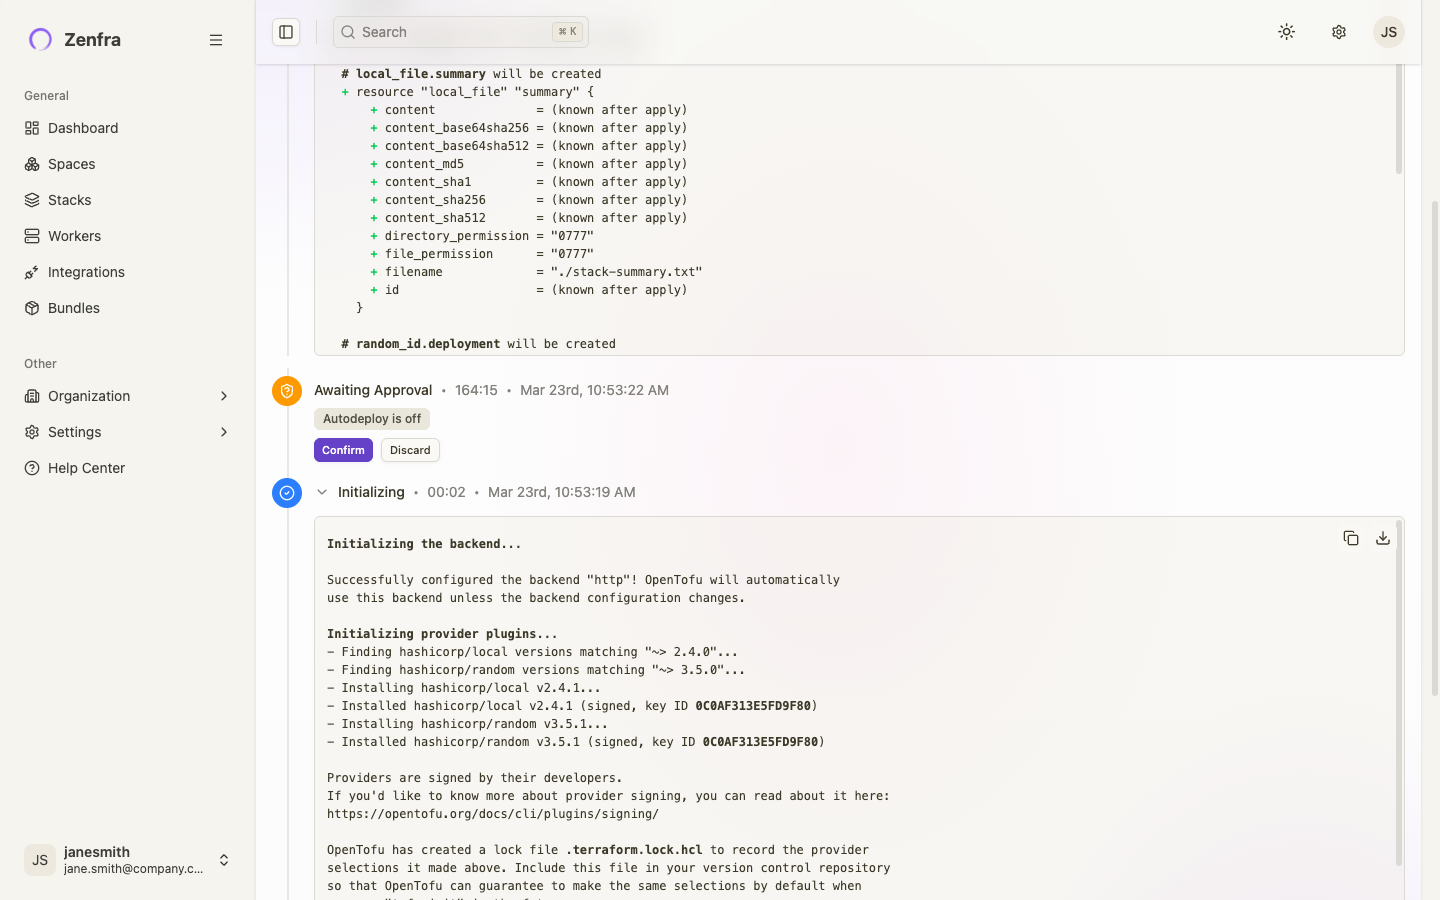
- Awaiting Approval — you review and confirm the plan
- Applying — executing the approved changes
- Finished — run completed successfully
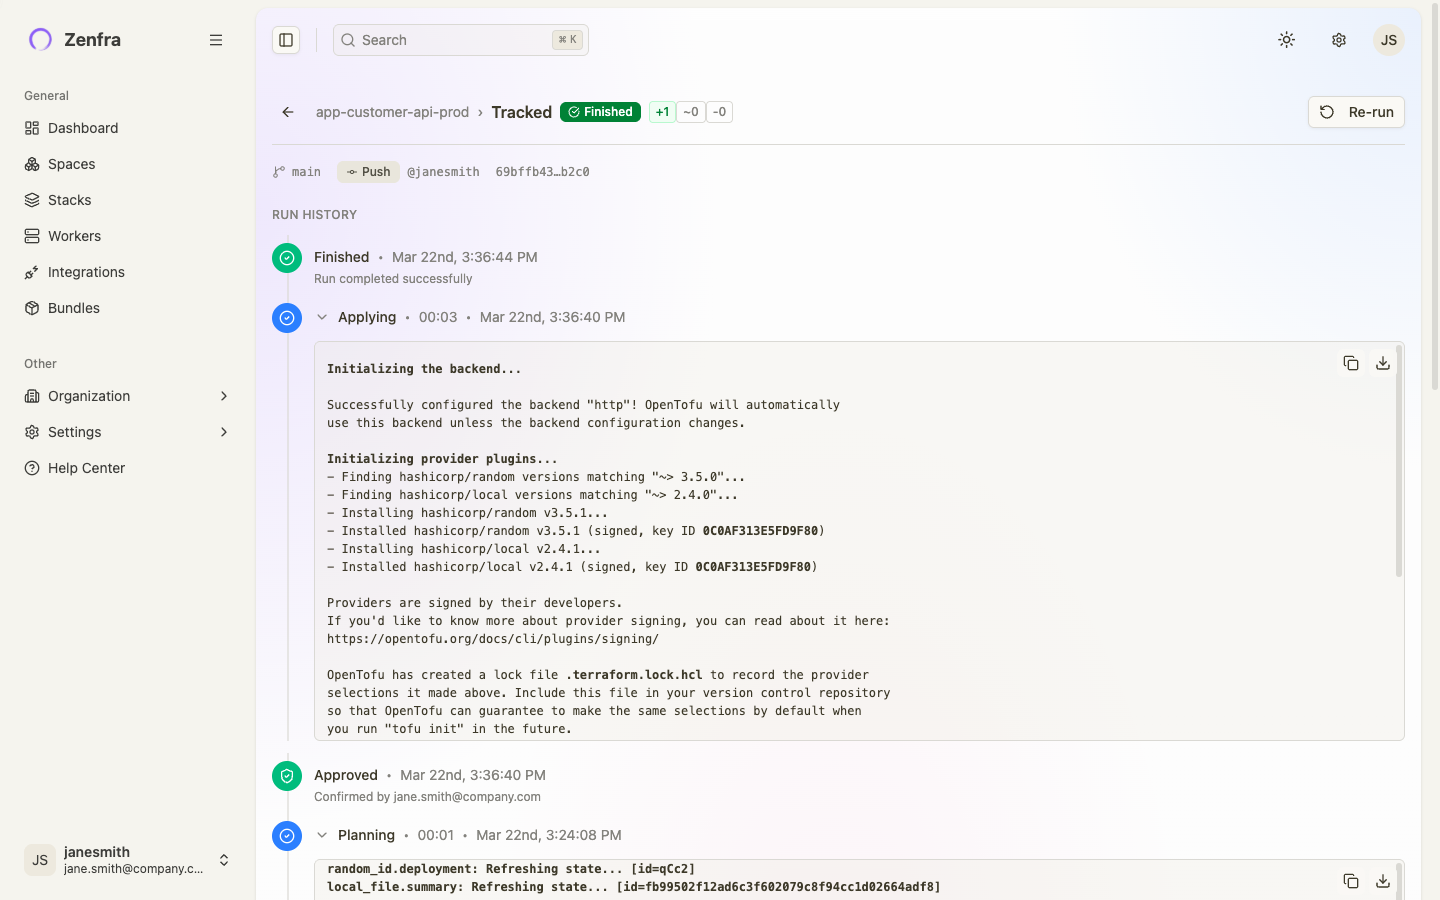
- Review the plan output in the Planning phase.
- If the changes look correct, click Confirm to approve the apply.
Step 5: Set up GitOps automation
Automate infrastructure runs by configuring push triggers on your stack.
- Open your stack and click Edit Stack from the actions menu.
- In the sidebar, select Source Code.
- Under Automation Triggers, enable the Push Trigger toggle.
- Optionally add Path Filters to only trigger on relevant changes (e.g.,
modules/**/*.tf). - Save your changes.
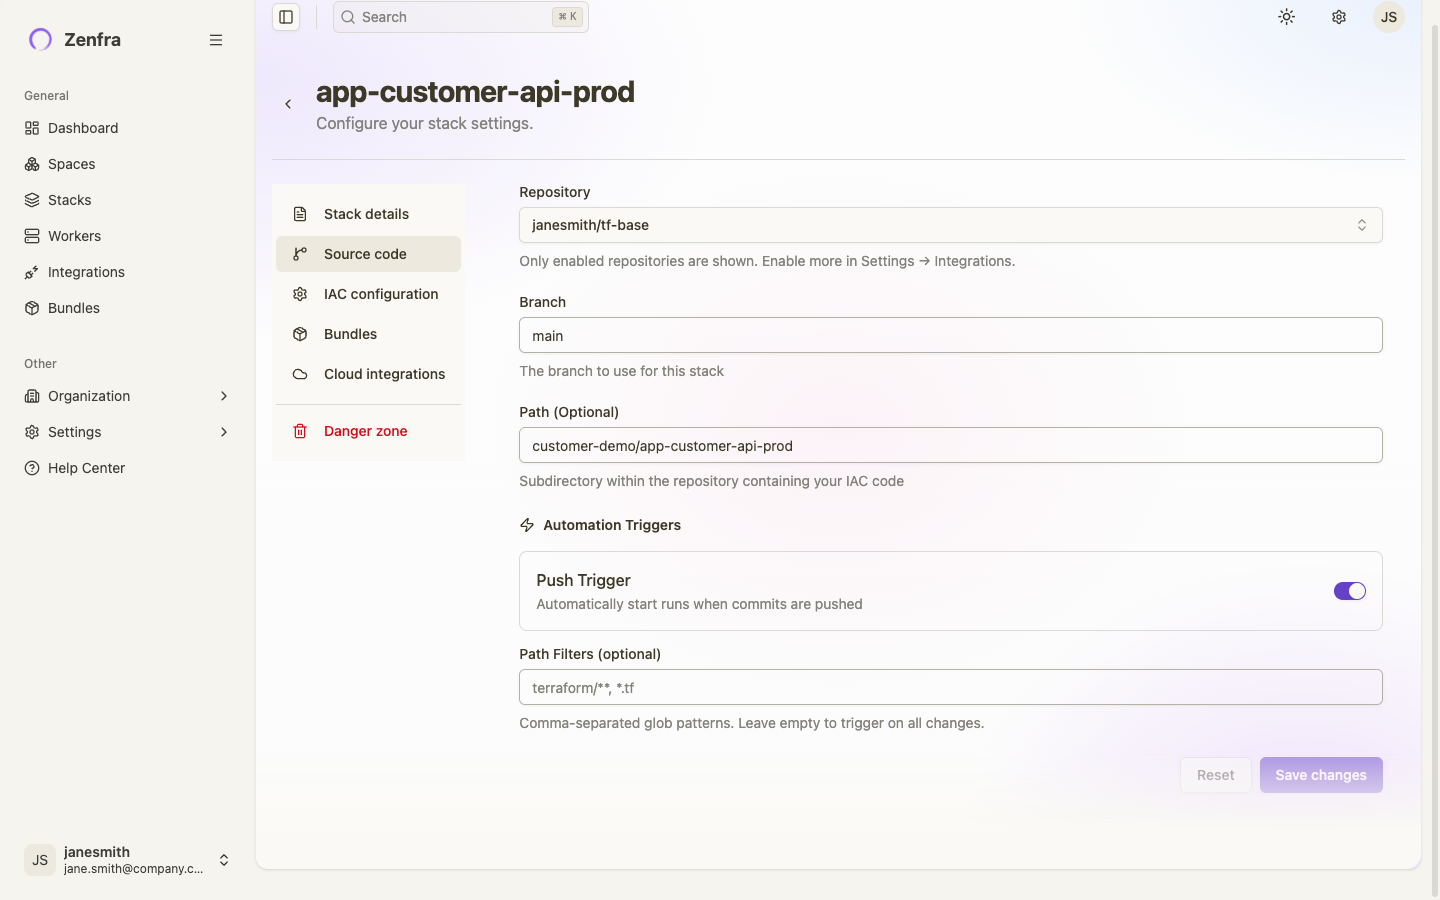
Every push to the tracked branch matching your path filters will now automatically trigger a run.
What to explore next
- Stacks — learn about stack configuration, settings, and run triggers
- Runs — understand the run lifecycle and different run types
- Spaces — organize stacks with hierarchical spaces
- Worker Pools — set up private workers for your infrastructure
- Configuration Bundles — share environment variables across stacks